A convincing Deltarune fan scene is not built by adding every effect at once. It starts with one clear moment: who is speaking, what changed, and why the line needs to be in a text box instead of plain text.
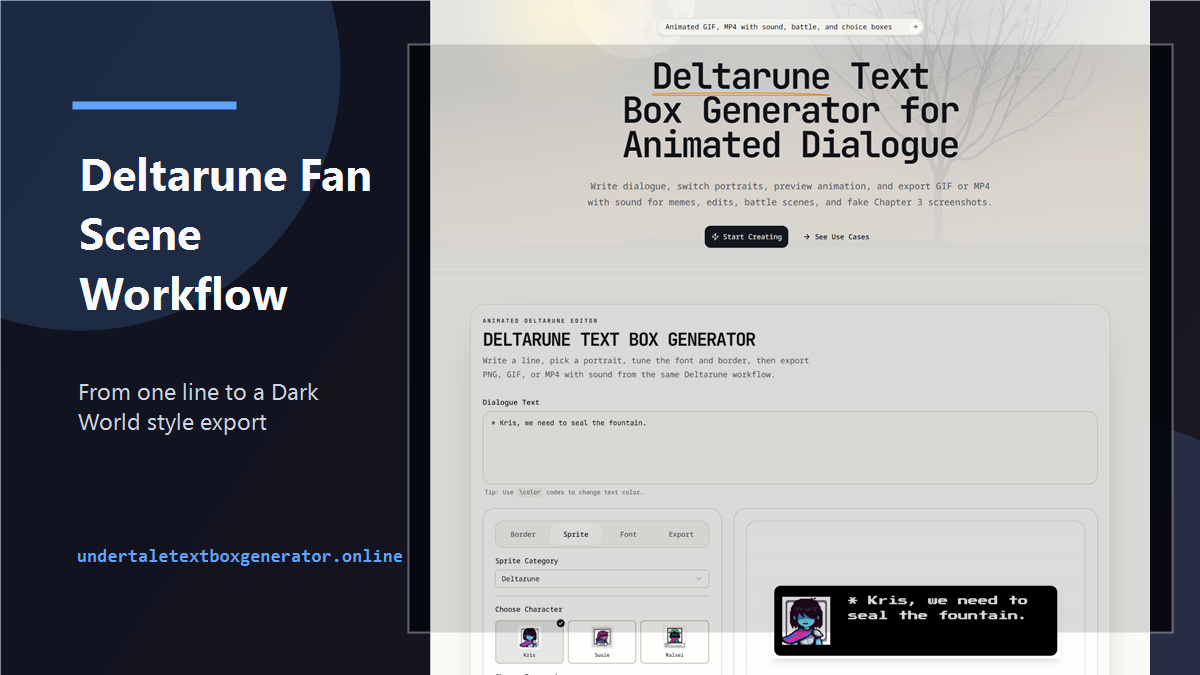
This workflow is for the dedicated Deltarune text box generator. The main Undertale text box generator can still make Deltarune-style boxes, but the dedicated page starts closer to the right result: Dark World mood, Deltarune border direction, and a faster route to Kris, Susie, or Ralsei scenes.
Step 1: Define the Scene in One Sentence
Do this before opening the editor. Write one plain sentence that explains what is happening.
Examples:
- Kris notices the room is repeating.
- Susie tries to act fearless in a scene that is clearly not normal.
- Ralsei explains something gently, but the explanation makes it worse.
- The party is about to seal a fountain, but one detail is wrong.
That one-sentence setup keeps the text box from becoming random Deltarune-flavored words.
For this guide, we will use:
Ralsei realizes the save point appeared before the choice.That gives us a speaker, a strange detail, and a reason for the line to feel quiet instead of loud.
Step 2: Draft the Line Before Styling It
Write the line in plain text first. Do not worry about border, font, export size, or animation yet.
First draft:
* Kris...
* the save point is already here.
That is workable, but it does not have a turn. It reports a fact. A stronger version makes the second line change the scene:
* Kris...
* the save point is already here.
\yellow before we chose anything.
Now the color tag has a job. It marks the detail that matters. The line also fits the Deltarune mood because it is restrained. It does not explain the entire lore of the scene. It gives the viewer enough to feel the wrongness.
Step 3: Choose the Speaker Early
Open the Sprite controls and choose the character before you polish the wording.
Kris scenes often work through silence or implication. A Kris-focused line may come from narration or another character reacting to Kris. Susie can carry sharper lines and blunt confidence. Ralsei can carry soft warnings, careful explanations, or tension hidden under kindness.
For this example, Ralsei is the best fit because the line should sound worried but gentle.
If you switch the speaker to Susie, the same idea should change:
* Kris.
* tell me that save point was there before.
\red tell me fast.
That is not just a portrait swap. It is a different performance. Good fan scenes treat the sprite as the speaker, not as decoration.
Step 4: Use Dark World Styling on Purpose
The Deltarune page is useful because the scene starts closer to the right visual language. After the speaker is chosen, check the font and text style.
If the line should feel like a Dark World moment, test the Dark World text styling early. It can change the mood faster than heavy border edits.
Keep adjustments small:
- Do not over-increase letter spacing.
- Do not shrink the text just to fit a long sentence.
- Do not switch styles several times in one box.
- Do not use red unless the line needs real alarm.
The best Deltarune-style boxes usually look controlled. The scene can be strange, but the typography should not look chaotic unless chaos is the actual point.
Step 5: Build the Beat, Not a Paragraph
A single fan scene should usually contain one beat. If you need three beats, make three boxes.
One beat:
* Kris...
* the save point is already here.
\yellow before we chose anything.
Three beats squeezed into one box:
* Kris, the save point is already here before we chose anything and the fountain is still open and Susie said she heard something behind the door.The long version explains more, but it performs worse. It gives the viewer no pause, no reveal, and no place for the typewriter timing to matter.
When in doubt, cut the lore and keep the moment.
Step 6: Preview the Timing Before Export
Press Play before deciding on GIF or MP4. The preview tells you whether the line actually works as motion.
Watch the final colored phrase. It should arrive late enough to matter but not so late that the viewer loses interest.
For the Ralsei example, the timing should feel like:
- Soft attention:
Kris... - Strange observation:
the save point is already here. - Real problem:
before we chose anything.
If the reveal feels weak, rewrite the final phrase. If it feels slow, remove words from the first two lines.
Animation is not only an export feature. It is an editing tool.
Step 7: Pick GIF or MP4 Based on the Scene
Use GIF if the scene is a short loop where the reveal is enough without sound.
Use MP4 if the typing sound makes the moment feel more like a cutscene. MP4 is also better if the clip will be edited into a video, posted as a short, or combined with other fan-scene material.
For our example, MP4 is the stronger choice because the typing sound can support the quiet tension.
Use PNG only if the goal is a still fake screenshot or a style comparison. PNG can work, but it will not carry the same slow reveal.
For a full export breakdown, read Undertale Text Box Export Formats: PNG, GIF, or MP4.
Step 8: Check the Scene at Real Viewing Size
Before publishing, look at the result as a viewer would see it. A fan scene can look good inside the editor and still fail when it is reduced inside a social feed.
Check:
- Is the final colored phrase readable?
- Does the portrait still read as the intended character?
- Does the border feel like the scene, not just a preset?
- Does the line make sense without a long explanation?
- Does the export loop or clip end cleanly?
If the answer is no, simplify. The fix is often one removed sentence, not another visual setting.
A Complete Example Workflow
Scene note:
Ralsei realizes the save point appeared before the choice.Dialogue:
* Kris...
* the save point is already here.
\yellow before we chose anything.
Setup:
- Speaker: Ralsei
- Border: Deltarune style
- Text feel: Dark World
- Color: yellow only for the reveal
- Preview: play once and shorten if it drags
- Export: MP4 if sound matters, GIF if the loop is enough
That is a complete small scene. It is not a giant dialogue system, but it has a clear moment, a readable speaker, and a format choice that matches the mood.
Realistic Limits
The current Deltarune setup is strongest for focused dialogue clips, fake screenshots, and short fan-scene mockups. It is not a full RPG cutscene editor. It will not write the scene for you, and it will not make a long paragraph feel like game dialogue by itself.
That limit is useful. It pushes the workflow toward one good text box at a time.
If you want a broader overview of the Deltarune page, read Deltarune Text Box Generator for GIFs, MP4, Sound. If the writing is the part you want to improve, start with How to Write Better Undertale Text Box Dialogue.